Laying laminate flooring can be a difficult task but here’s a guide on how to set up properly and make the job a lot easier.
Measuring your floor area
When measuring your floor area make sure to add approximately 10% extra of the overall area. Like with any floor whether it’s tiles or wooden flooring there will be some wastage and it’s important to account for this before starting the job.
Preparation of your floor
Ensure the subfloor is as level as possible and in good condition. Check the floor using a spirit level to make sure the floor is as level as possible and there are no significant high or low spots. Uneven areas may need to be ground down or risen using self levelling cement. The surface should also be perfectly dry and clean and free from loose debris. Then when you’re happy with the surface you need to lay your underlay.
Different surfaces may require different types of underlay. A wooden subfloor can be covered with any basic underlay and does not require any special treatment or prep. A concrete floor may require a damp proof membrane. Check with the manufacturers recommendations. It’s important that damp is not allowed to permeate up through to the laminate. The underlay may need to be fixed together with tape at the seams and should also extend up the wall where possible approximately 4 inches or more.
For floors with electric or plumbed underfloor heating there is underlay which is designed specifically for this purpose which will allow heat to spread evenly across the surface.
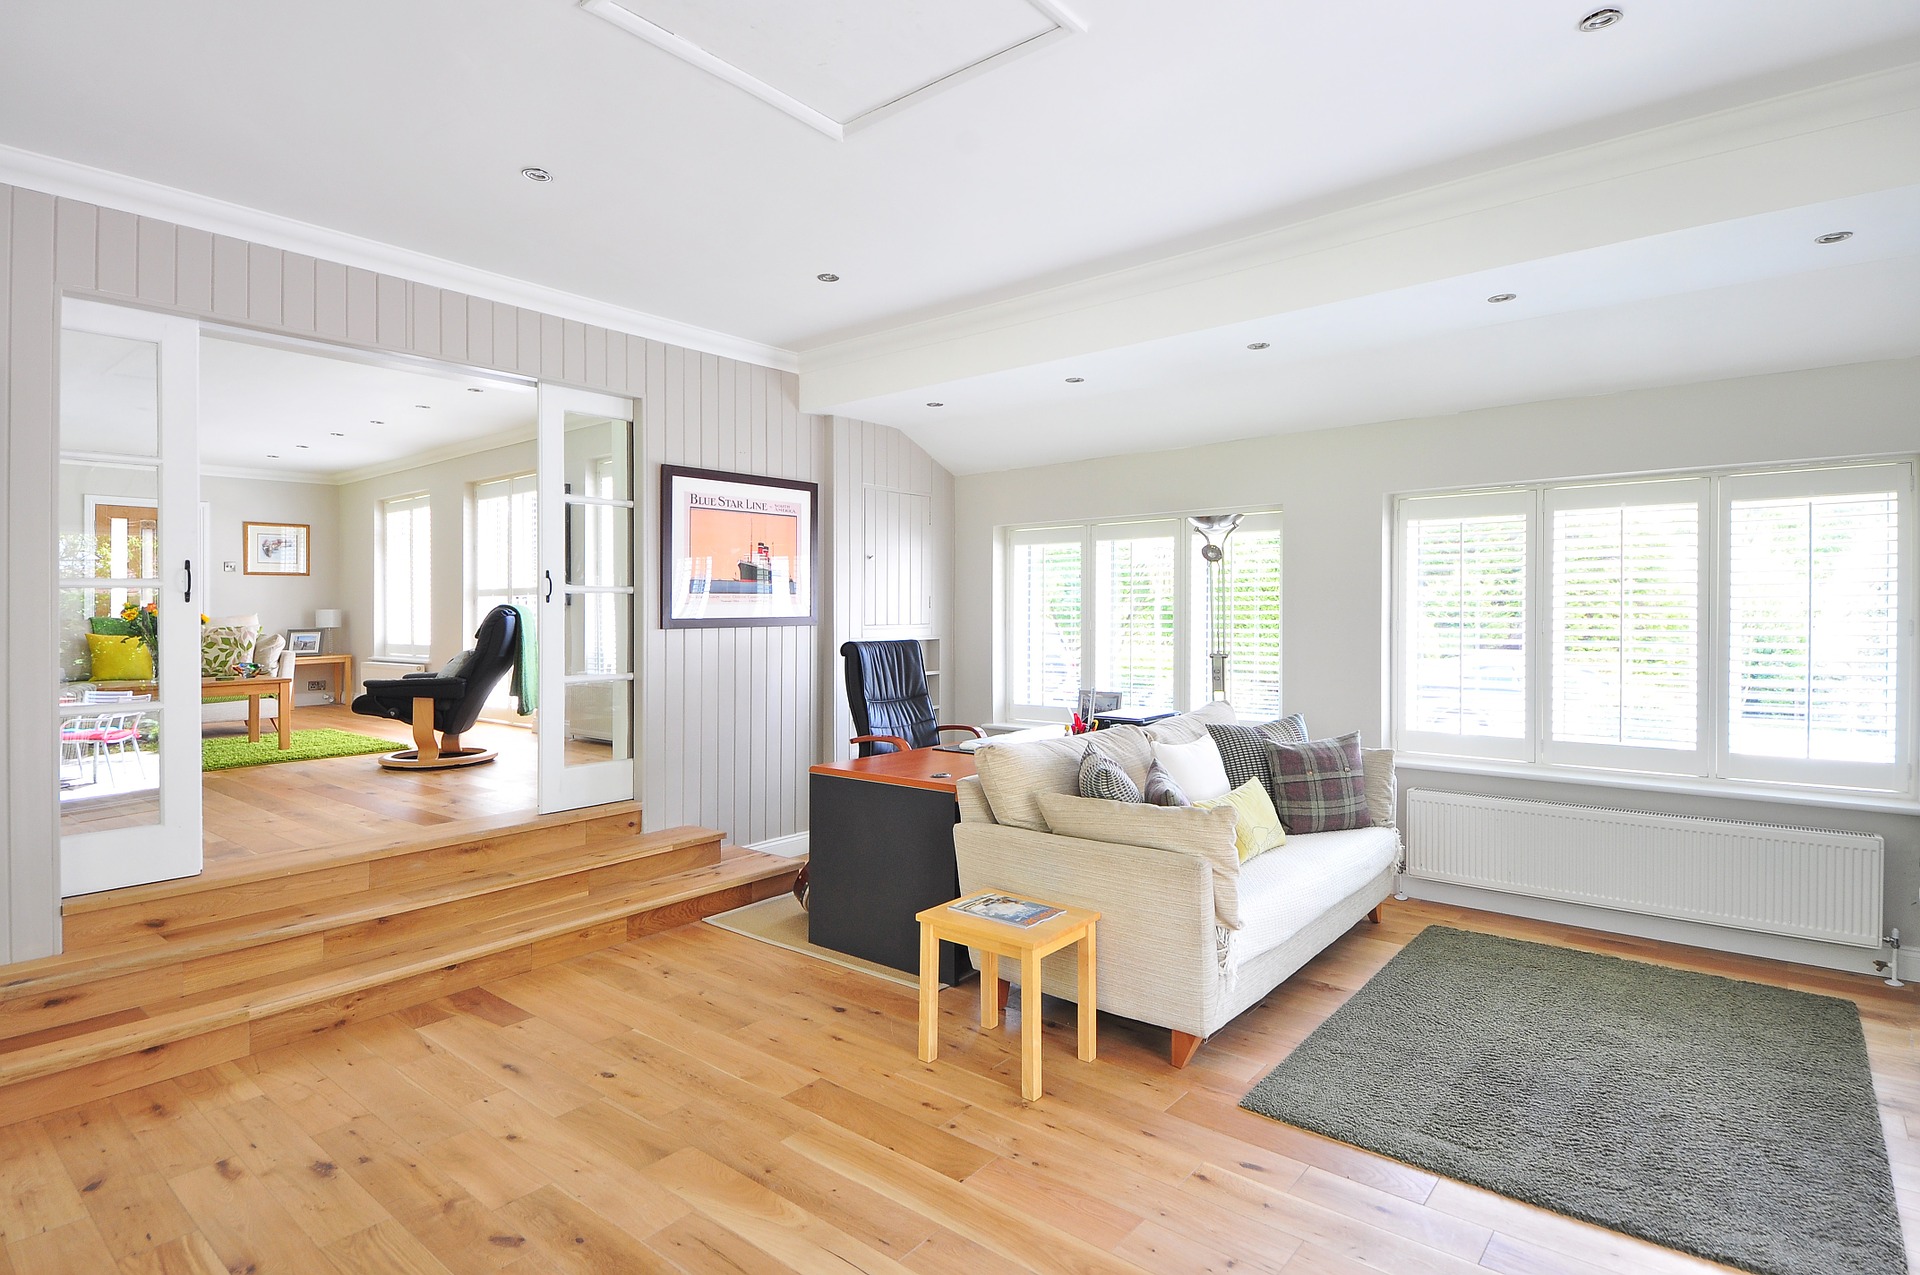
If possible remove any skirting board to make fitting easier around the edges of your room. If the skirting cannot be removed, don’t worry, as some edging can be used to trim along the walls to ensure a neat finish.
Fitting your laminate floor
Laminate flooring is made in a way which suits the average DIYer. Most laminate floors click together easily without the need for any specialist tools.
You will need some tools before you start. You may have some of these and if not, most can be found easily in your local hardware shop. First you will need something to cut the boards. Ideally a circular saw will handle most of the cutting and are great for cutting the boards length ways for the long strips you’ll need for the sides of the room. A chop saw or circular saw will also be good for cutting across the boards but these can also be cut very carefully by hand but this is difficult to maintain straight cuts consistently. For cutting around awkward shapes, curves, or radiator pipes, a jigsaw with a fine wood blade will be ideal.
Whatever saw you choose, make sure you have a blade with fine teeth or a high tooth count. More teeth means there is a better chance of getting an accurate smooth cut with no chipping or tear out. When cutting always cut with the top side facing up. Chips will be very noticeable on your floor. Before cutting you can use a pencil or chalk to mark the floor as this will be easy to wipe off after.
For radiator pipes you can cut out a slot just wide enough for the pipe. The cutting which is removed can be used to infill the gap left between the pipe and the wall.
Start at a corner of your room and lay a full board with the groove side against the wall. The next row will start with a board cut to 2/3 length. The 3rd row will start with a board cut to 1/3 length and the 4th row will start wit a full board again. Complete each row fully before moving onto the next. Try and ensure that joints on 2 adjoining rows are no less than 6-8 inches apart. Also make sure that there is a small gap of 8-10mm at one end of each row to allow for expansion. You can use a cutting of the floor you’re working with as a spacer to keep the gap consistent. Don’t forget this gap can be covered with skirting or some edging afterwards. Gaps should also be left where the laminate floor meets a doorway or another flooring surface.
Bear in mind that this advice is conditional and will depend on your individual situation. Always follow the advice on the manufacturers documentation and ensure the proper preparation has been done to avoid damage to the laminate flooring.